No, not floating Chickens…..but floating Chickens….


If you are a Decorative Artist or would like to be one….. you more than likely heard the term ‘floating color’, it is a technique used by Decorative Artists to apply shading. To me….it is the most common and widely used technique for this style of Art.
A few folks have asked how I achieve such wide floats of color….and I would like to share with you a technique video. I have learned this technique many years ago (we won’t say how many), from one of my mentors and favorite painters, Maxine Thomas,(love you Maxine!) she’s the coolest, ya know.
The key to this technique is in the layer of ‘water’ placed down prior to floating….it allows you time to play, to mop and to clean up, before the paint drys. A three brush method….water brush, floating brush, mop brush. You may struggle at first to hold 3 brushes and then try to load your ‘floating’ brush with paint in hopes that your water remains wet….but it will come, I promise. Stick with it.
Watch and Learn
Practice makes perfect……Click the below link for a free pattern to practice!

‘Cluck The Chicken’ is a good practice piece….it has large and tiny areas and will make-up quickly…….sometimes we like to see the end result fast, especially when just learning!

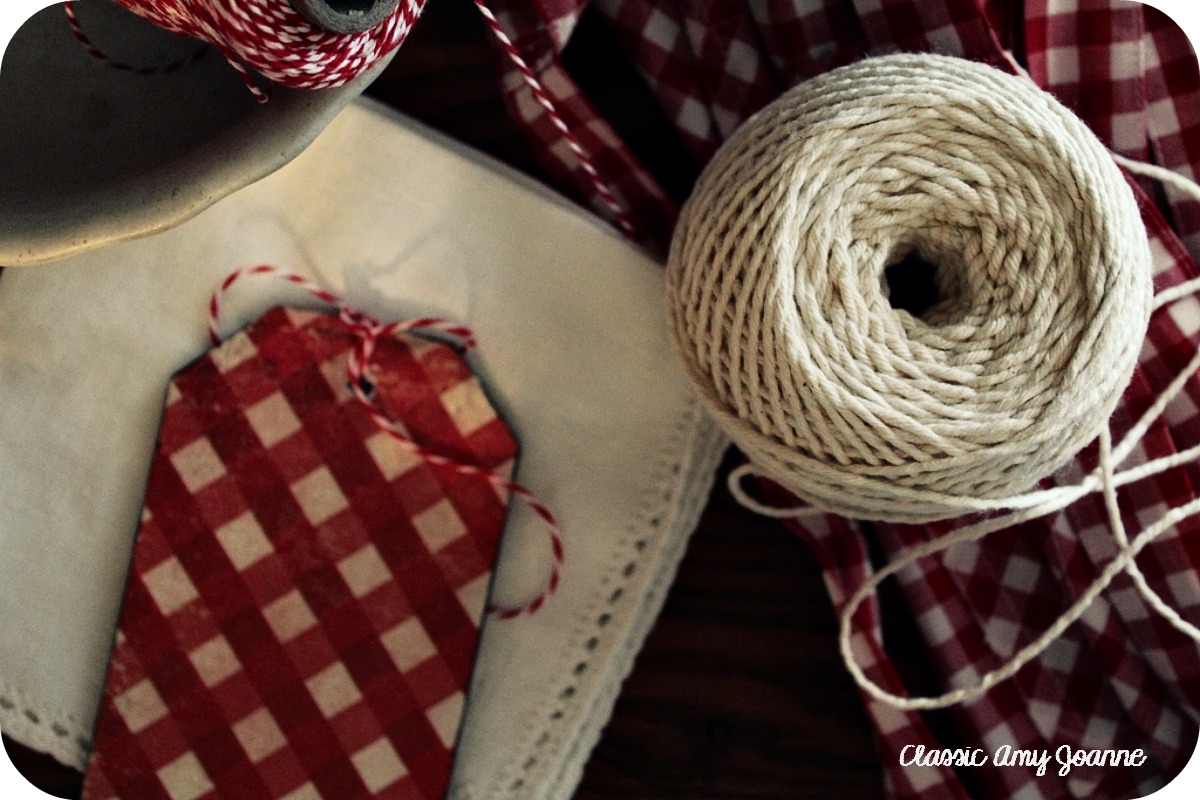
Instructions are included to create the back of the tag as well.
Who knew that floating chickens would be so much fun!

If you’re local….and would like to learn Decorative Art, join me on June 28th at the Tamaqua Community Art Center to ‘Float Chickens’ ~ hands on!
And coming this Fall to the Tamaqua Community Arts Center ‘Brush~N~Hand’ Studio….a place to learn and grow in the Decorative Arts!
***
Lots-a free patterns on my blog for you to enjoy….simply click on the category ‘Free Paint and Pencil Patterns’! Do you like what you see?….tell your creative friends and Chapter folks! Be sure to add your email address to the blog page to receive instant updates for every blog post!
***
Up Next ~ Makin’ $5.00 Smiles, Chalkboard Cones, My Right Hand Man
Leave a Reply