
This Winter/Christmas blog post may be a little to early or a little to late ….depending on how you look at it. But if you are a Creative the timing may be just right.
For the Love of Creativity, enjoy creating a ‘Cozy Snowie‘, or two and you will be ready when the snow is falling and the stockings are hung!
~*~
During our “My Cottage Life Shop, Open House‘ this past Christmas Season ~ we filled our shelving with Candles of course, and then sprinkled in a few handmade and heartfelt goodies ~ including a few ‘Cozie Snowies’!
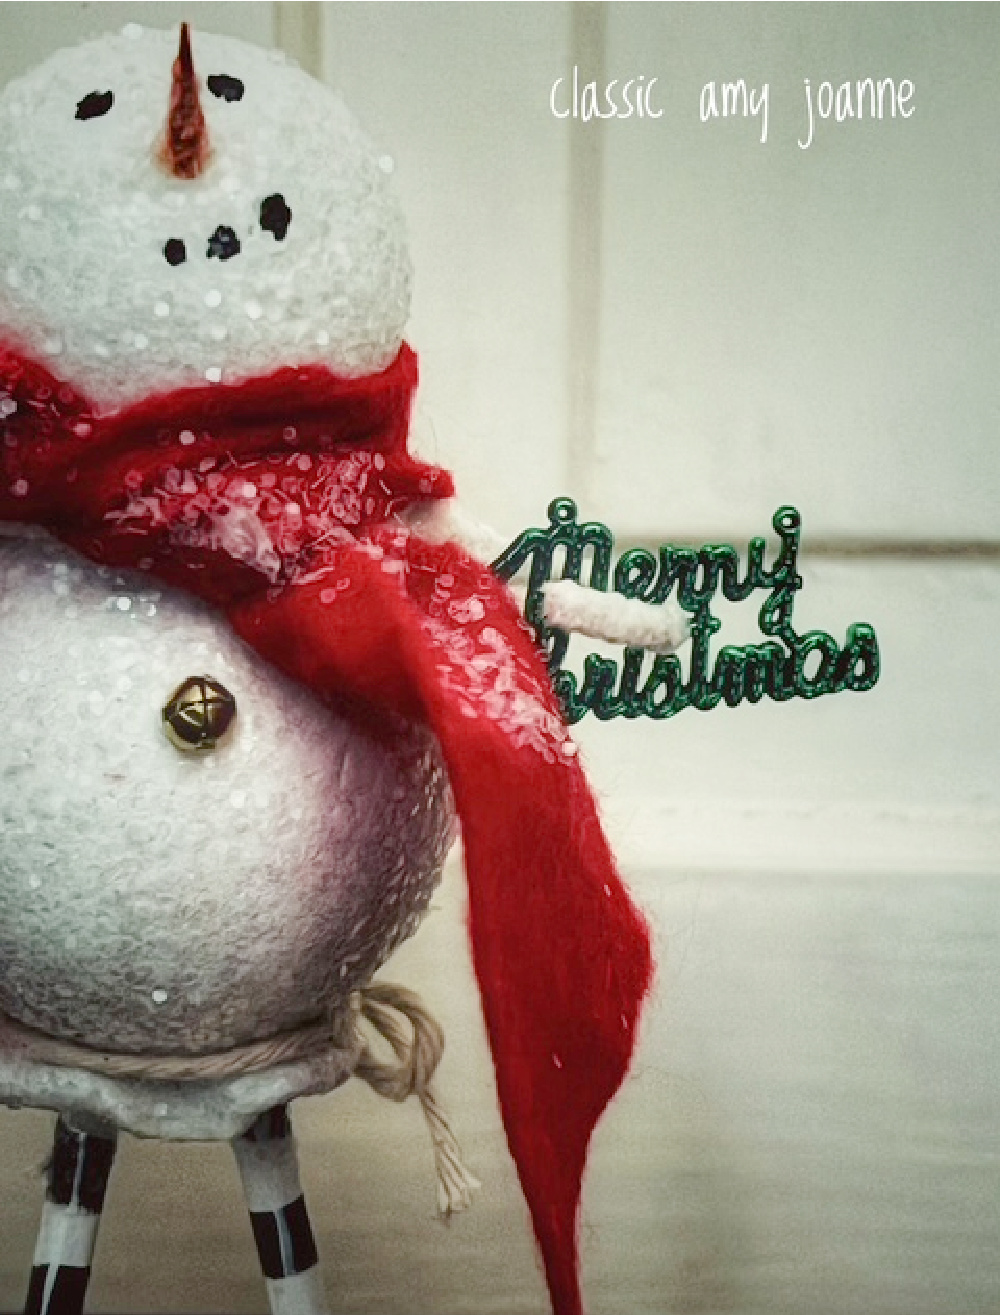
Each ‘Cozy Snowie‘ has it’s own personality, with striped legs, ruffled skirting, ‘belly bells’, pose-able arms, woolen scarves, trinkets, and even a sideways smile or two.
The supplies needed for the ‘basic build’ are as shown below
- two different size styrofoam balls (head and body) ~ create big or small, it’s up to you!
- Quickwood, (find here) & sculpting supplies
- white chenille wool pipe cleaners (found here)
- pointed skewers, (for nose) (found here)
- dowels (for legs) (adjust size to the size of styrofoam ball)
- trinkets, bells, baker’s twine, wool scraps
- glitter, mica, german glass glitter, artificial snow (german glass glitter here), your choice.
- acrylic paints, & painting supplies (I use decoart brand)
- wood bases
- white glue or decoupage
- super glue

To assemble, first ‘attach’ the head to the body using Quickwood to secure (purchase a how-to pattern with video for a similar Quickwood project to learn here, design shown below).
I then added a signature ‘ruffled skirt’ to the bottom of each ‘Cozy Snowie‘ also using Quickwood.
(You will find ‘signature skirting’ thru-out my paintings from Mousie shown below, to Froggie, to Elfie).


Next cut the dowel ‘legs’ to fit inside the ruffled skirt, making one leg longer than the other to create a different standing position and then secure the legs to the inside of the ruffled skirt. (add a little super glue if needed).
Then cut the skewer for the nose and position in place onto the face. Adjust the nose to have the ‘Cozy Snowie‘ looking up, down or even sideways! Secure in place.
(also Secure legs to base, ~ I asked Jerry to drill the holes).
Then Paint!
Head and Body are white (and ruffle), noses orange, faces black, legs are striped black and white. Be sure to create a smirky smile!…and don’t forget the base!
Next add the Glitter!
Using any white glue or decoupage, brush onto the snowman, ruffled skirt and base under feet, then let the glitter fly! (I sprinkled glitter over a plastic container to catch the excess and reuse).


Next, wrap the Wool Chenille Pipe Cleaner around the neck and extend from each side to create arms. Add Baker’s Twine (another signature here at Classic Amy Joanne) around the ruffled skirting.


Next add a wool scarf or babushka….I’m pretty smitten on the babushka!
Then add the belly bells….if you place the bells up higher and close together your ‘Cozy Snowie‘ will look chubby, …..simply smile!
Then embellish with trinkets and vintage finds ~ positioning in your ‘Cozy Snowie‘ arms!


Sign your work or hand stamp and write a sweet message to the bottom of each ‘Cozy Snowie‘!
we then placed ours thru-out the ‘My Cottage Life Shop‘…..


‘Cozy Snowies‘ make a great gift to give, or host a gathering with friends to create together ~ either way….enjoy from my heart to yours.
All things to warm your home and melt your heart.
Creatively Yours, Amy.
~*~


Stop on by our Daily Dose (here), for an easy creative ‘scroll thru’ ~ ad free! …a daily dose of inspiration!
Our ‘Cozy Snowies‘ would make a perfect ‘Door Knob Gift‘ ~ or create a ‘Cottage Classic Giftable’….so many ideas!


Leave a Reply to JudyCancel reply